When you set up eWebinar’s integration with Certifier.io, you can issue personalized, customized certificates to attendees who complete your webinar series.
Para configurar la integración:
1. Sign up for Certifier, if you haven’t already, and log in to Certifier.io,
2. Open the profile menu, and go to Settings (1) → Developers (2)→ Access Tokens (3).
3. Generate an access token (4) and copy it.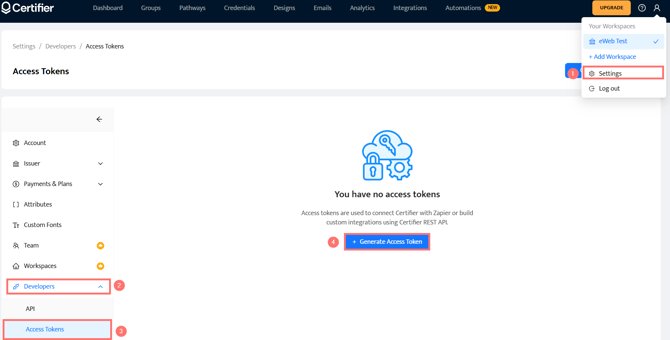
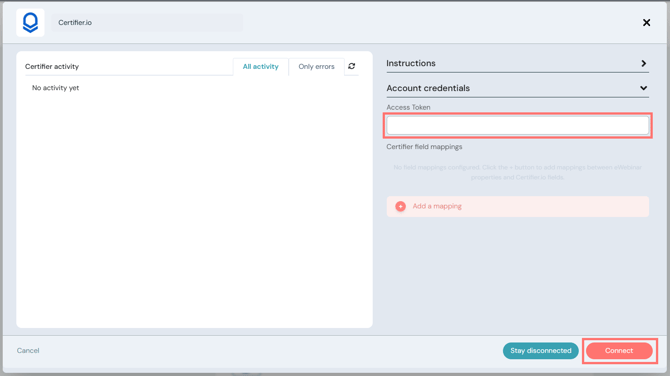
6. Paste the Access token into the available field.
7. Click Connect.
NOTE: You can map custom properties between eWebinar and Certifier, if you like. However, you may not need to, since the most important fields are either mapped for you automatically or already exist within Certifier.
|
Property |
eWebinar name |
Certifier name |
|
Registrant full name |
<name> |
[recipient.name] |
|
Registrant email address |
<email> |
[recipient.email] |
|
Certificate issue date |
<seriesCompletionDate> |
[certificate.issued_on] |
|
Issuer name (in Certifier Settings) |
N/A |
[issuer.name] |
|
Group name (use for Series Name) |
N/A |
[group.name] |
You can insert the Certifier property names into your design.
To use the integration with Certifier:
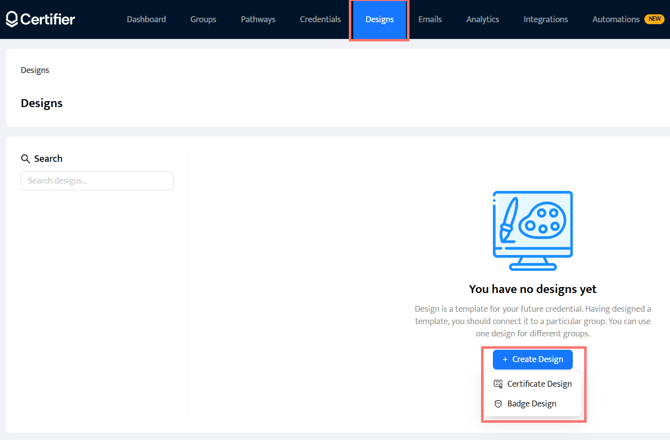
- In Certifier, go to Designs and design your Certificate and/or Badge.
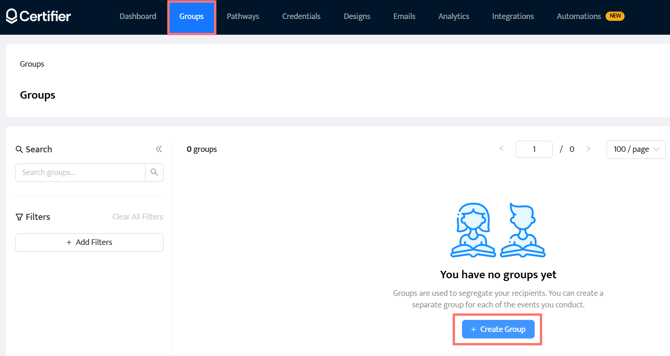
- Next, go to Groups, create a group and assign your Certificate and/or Badge Design to it. You may want to name your Group after your series. If you do, you can insert [group.name] into your certificate design for the course or series name.
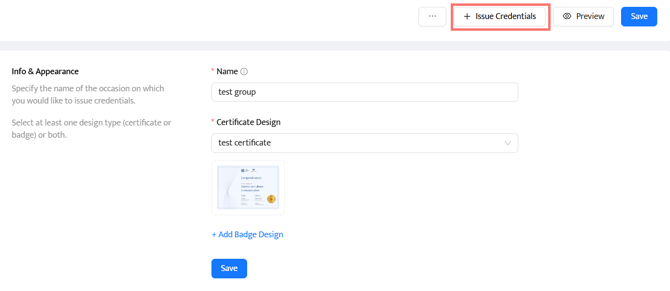
- Once you have saved your Group, click Issue Credentials.
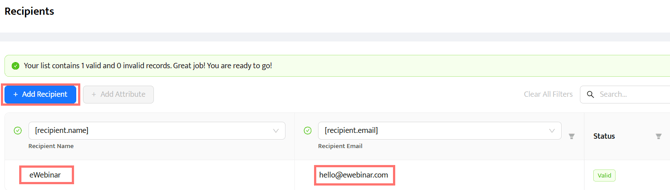
- In the modal that opens, choose Manually, one by one in response to how you would like to add recipients. Make sure the correct Group is selected and check the box to indicate you have permission to use the personal data of the recipients.
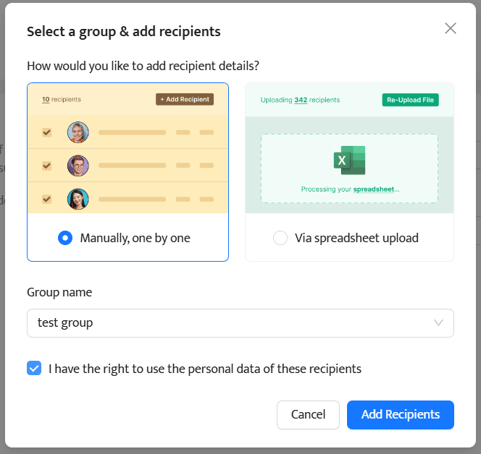
- Haga clic en Add Recipient and enter a name and email address. This Recipient's name is simply a placeholder (e.g. Jane Doe) and will appear to series registrants in the preview of your certificate or badge on the series landing page. (It doesn’t matter what email address you use, as long as it is valid.)
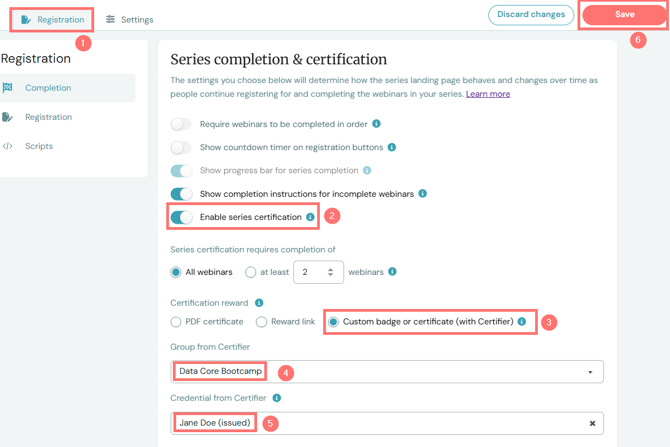
- Return to eWebinar, edit your series, and go to the Registration tab (1).
- Enable series certification (2) and choose Custom badge or certificate (with Certifier) (3) under Certification reward.
- Select your Group (4) and Credential (5) from Certifier.
- Save your changes.
Once you are done, registrants who meet the completion requirements of your series will see a link to download their personalized certificate or badge on their own series landing pages.
TIP: If you integrate eWebinar with your CRM, you can use the property Series status (seriesStatus = “Certified”) to trigger a follow-up email that includes the attendee’s unique Certification link (certificationLink) so they can download their certificate or badge from your email.